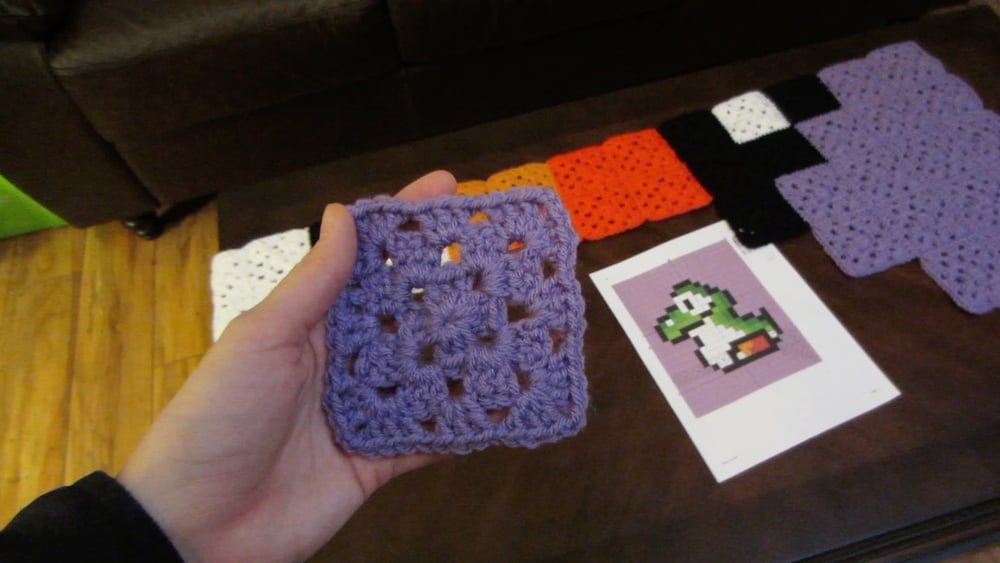
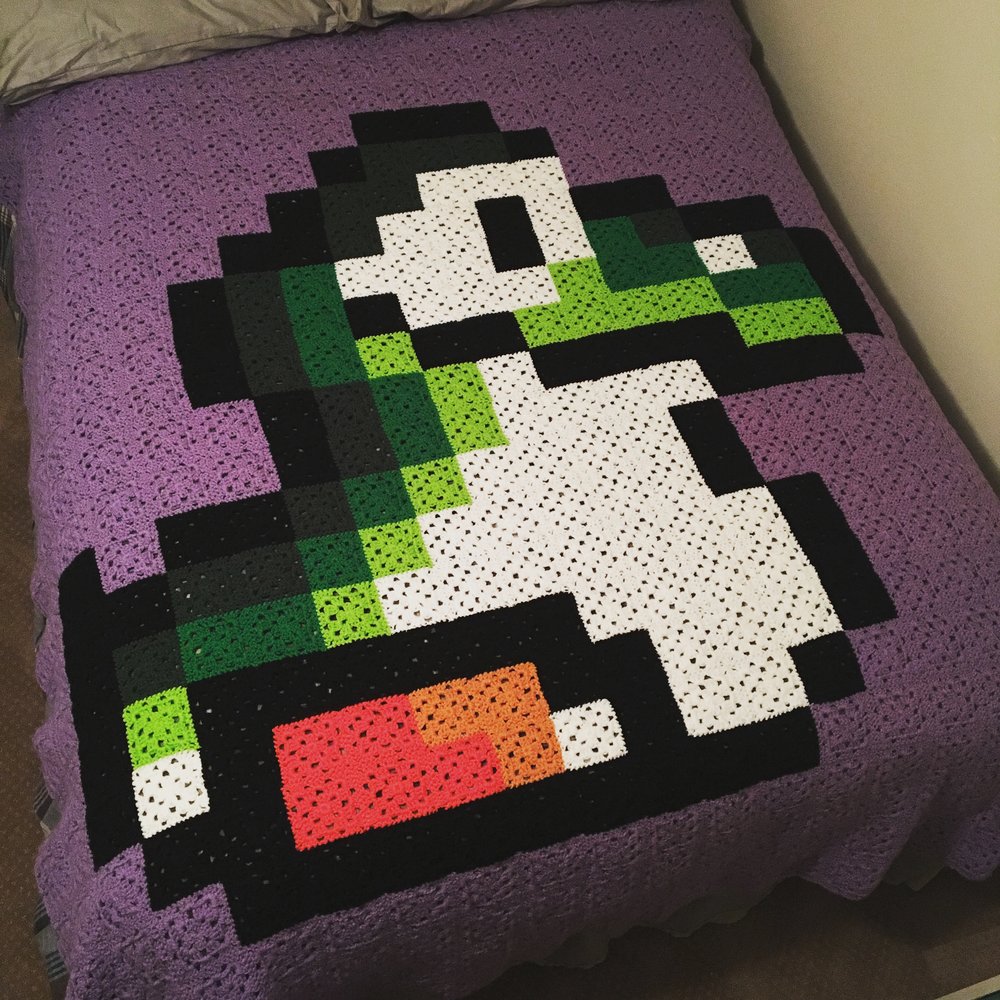
One of my projects for my baby-to-be is a large crochet granny square blanket, with a pixel portrait of baby Yoshi on it.
I’m about 15% done so far; may or may not finish by May. Either way, it’s a fun project you can work on a little bit at a time, and I have created a YouTube playlist featuring the project start-to finish.
Since I know not everyone (including me) likes to watch videos unless I have to, I’ve written up a summarized transcript of them here. The videos do go into more detail, so if you have the time or need some further info (or visual help), please do watch them.
If you undertake your own pixel blanket, I’d love to see the progress!
In this first video, I explain how I created my Yoshi pattern, and how to calculate how big your blanket will turn out.
If you already know what character you want to use, the first step is to find a sprite (small, clear, pixel image) of the character. A great place to look is The Spriters Resource, where you can look up sprites by system, and game.
Once you have your sprite chosen, you can throw it in some pattern software, or create a pixel pattern by zooming in on the image, or by drawing it on graph paper. If you want more detail on how to create patterns using pattern software, check out this video.
To determine the finished size of your pattern, count the number of pixels wide and tall it is, and multiply those dimensions by how big one of your finished squares will be. To be really accurate, you will need to stitch a square with the type of yarn and hook you plan to use for the blanket, and measure it. My gauge square came out to 3.5″ x 3.5″.
Since my pixel image was 16 x 16, this would make a square blanket of 56″ x 56″ with no additional border. Since I wanted it to be rectangular, and be about the size of a twin sized blanket, I added two rows of border to the sides, and 4 rows to the top and bottom. This makes my finished pattern 20 x 24, and the blanket size 70″ x 84″. I used this chart to reference what size standard blankets are.
(Abbreviations: Ch – chain, Sl St – slip stitch, Dc, double crochet)
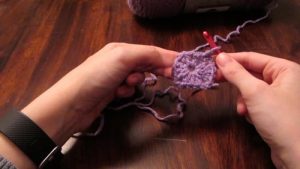
Round 1:
Start by tying slipknot on your hook with a long tail (~6 inches).
Ch 4.
Sl St into first chain to create a loop
Ch 3, then Dc 2 into the center of your loop
Ch 2 to make the first corner
*Dc 3, Ch 2* 3 times, all into the center of your loop
Sl St to join to the 3rd chain of your original Ch 3.
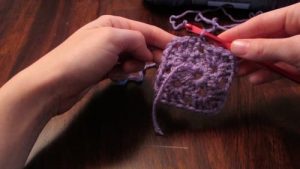
Round 2:
Ch 3, turn your work
Dc 2, Ch 2, Dc 3 in the corner gap
Ch 1
*Dc 3, Ch 2, Dc 3 in the next corner, Ch 1* three times
Sl St to join to the 3rd chain of your original Ch 3.
Round 3:
Ch 3, turn your work
Dc 2 in the center gap
*Ch 1, Dc 3, Ch 2, Dc 3 in the corner, Ch 1, Dc 3 in the center* three times,
Ch 1, Dc 3, Ch 2, Dc 3 in the corner, Ch 1, Sl St to join to the 3rd chain of your original Ch 3.
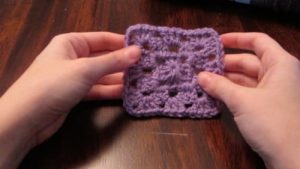
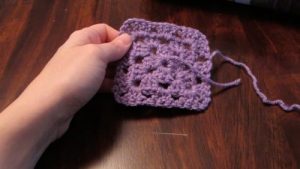
Your square is complete! Time to tie off the ends. Pull the center tail to close up the hole in the center of your square. Then use a sharp yarn or upholstery needle to weave it in completely around the center circle 1-2 times. For your last stitch, go back in the opposite direction to really lock it in.
For the upper tail, to weave it in seamlessly, sew the tail from back to front under both loops of the center stitch (in the middle of the center shell). Then, take the needle down through the center of the chain stitch to the right of the shell. Then, weave in the end down toward the middle of the square and back up toward the edge. Trim your tails up against the square.
This one was a method I created myself, after trying several other join methods and not being happy with the look. I do recommend watching this one so you can see what I’m describing, but I’ll take a stab at putting it into words in its own blog post with some pictures.
Update: Finished blanket! 4/19/16
 Now you can cover gaps to you heart’s content! (awaiting cleanup)